Set up your booking page
Your booking page is the front door of your studio: clients pick a service, pick a time, and book themselves. Here is how to get it live.
What you’ll need
Your service list (names, durations, prices) and your working hours. That’s it.
Add your services
- Go to Settings → Services and click New service.
- Give it a name, a Duration, and a Price.
- Add a Buffer after if you need cleanup or reset time between clients. The buffer is invisible to clients; it just spaces out your slots.
- Save, and repeat for each service you offer.
Only active services appear on your booking page, so you can draft ahead and switch a service on when it’s ready.
Set your hours
- Go to Settings → Availability.
- Set the hours you take bookings for each weekday.
- Need a day off or a one-off change? Add an override for that date.
Rezzy computes open slots from your hours, your existing bookings, and (if connected) your Google Calendar busy times. You never manage slots by hand.
Share your link
- Go to Settings → Booking page.
- Your page lives at
letsrezzy.com/book/your-studio. Copy the link. - Put it where clients already find you: Instagram, TikTok, your website, link-in-bio pages, your email signature, and the booking link on your Google Business Profile.
- Have a website? Use the embed snippet on the same page to put booking directly on your site.
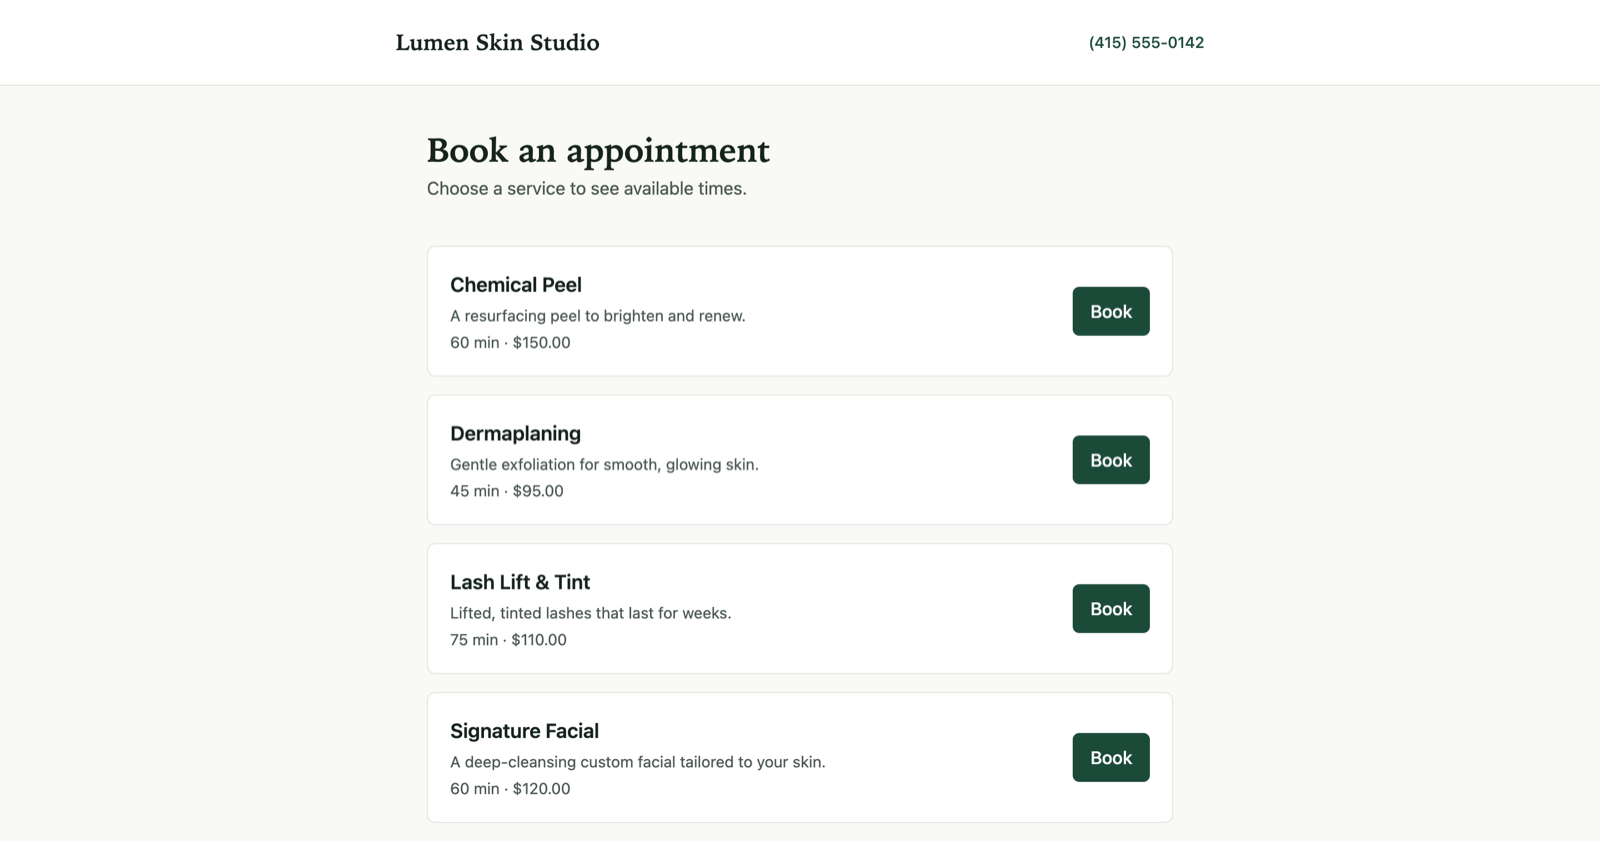
What clients see: services, open times, and a booking form.
What happens next
Every booking sends the client a confirmation email and a reminder before the visit, adds the appointment to your calendar, and creates or updates the client in your client book automatically. Cancellations and reschedules are self-serve through the link in the client’s email.
Run your front desk on Rezzy
Online booking, a client book that builds itself, automatic reminders, and rebooking that runs on its own.